Friday, 6 July 2012

New Swedish Style Spoon...?

I would hate anyone to think I ever used my kids as an excuse, but the fact is that the financial practicalities of having four children and all the expense that goes with them is just one of the reasons I have never been on a Mike Abbott ladder back chair course, a Robin Wood pole lathe course, a Ben Orford forging course, a Peter Follansbee jointed stool course or a Barn Carder or Wille Sundqvist spoon carving course. So I have to make do with having a look at someone else's green woodwork and try and work it out for myself.


I have always admired the Sundqvist style scandinavian spoons, but never attempted one before so with a little time on my hands last night, thought I'd give it a go.


It's nowhere near as well formed or delicately shaped as one of Wille Sundqvist's, but for a first attempt, and considering it is not too green hawthorn which was a little harder than I would have liked and with enough nots and kinks that I should have just thrown it away before starting, and all in all I'm quite pleased with it. I particularly like the colour the hawthorn goes, almost as soon as you begin to cut it. This one I have made for a work colleague who does a lot of baking. I hope it works for her.

Tuesday, 3 July 2012

It costs how much? I'll think about it...

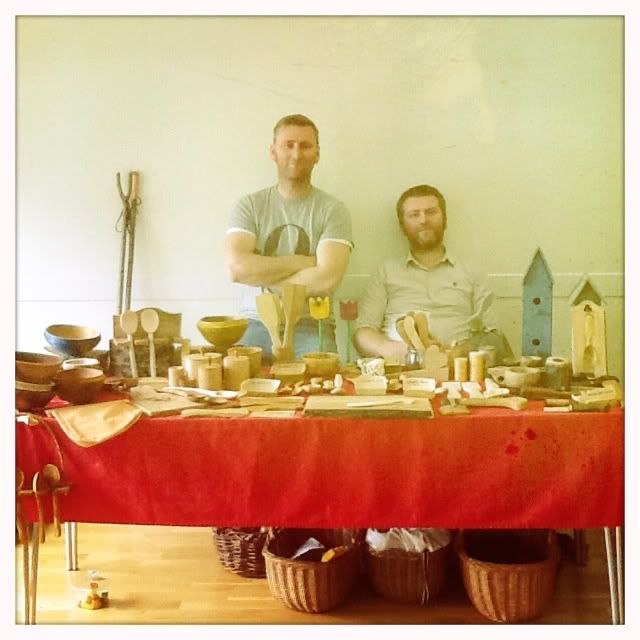
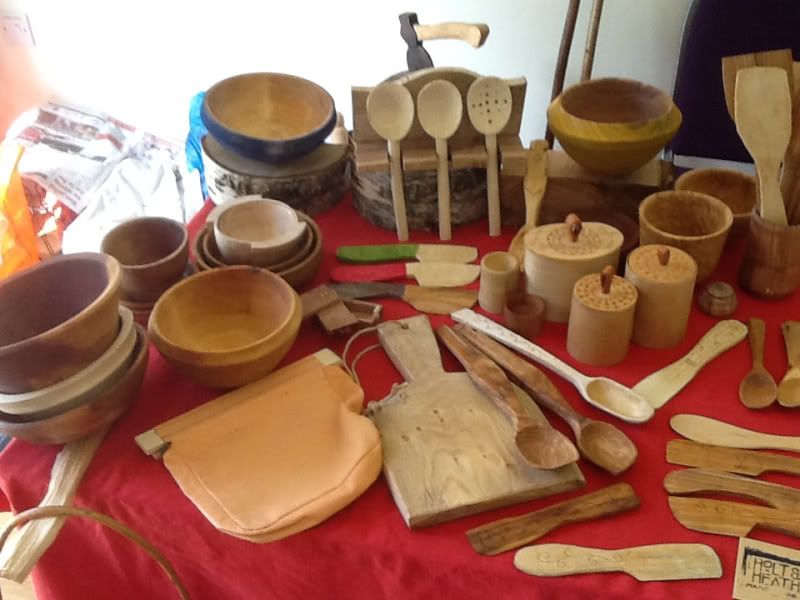
So, the day of our first craft fair finally came and Saturday morning my daughter, Chloe, and I loaded the car and headed over to Birmingham where we joined Ju and Laura at a hall in Water Orton. it was a small but nice venue with other craft and vintage stalls. We set out our table and after a few minutes of whispered discussion regarding how much we were going to charge for our items, we prepared ourselves to welcome the public.
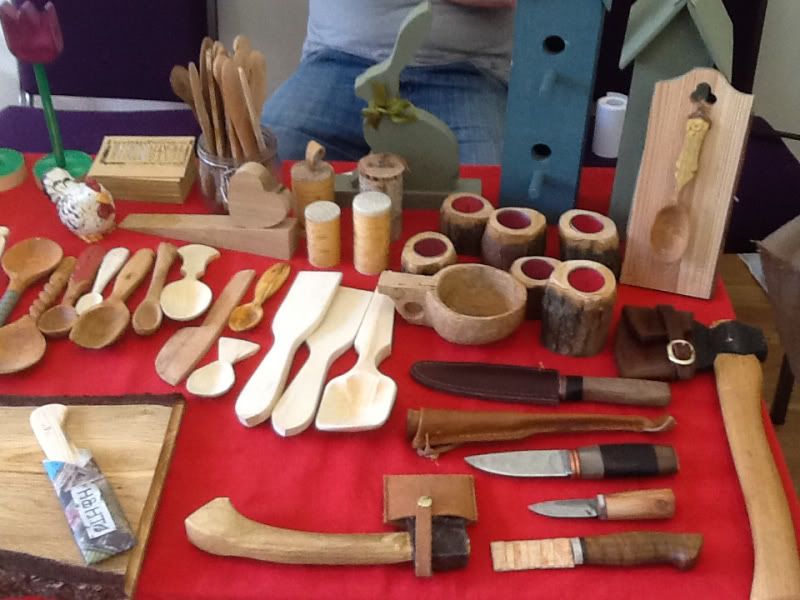
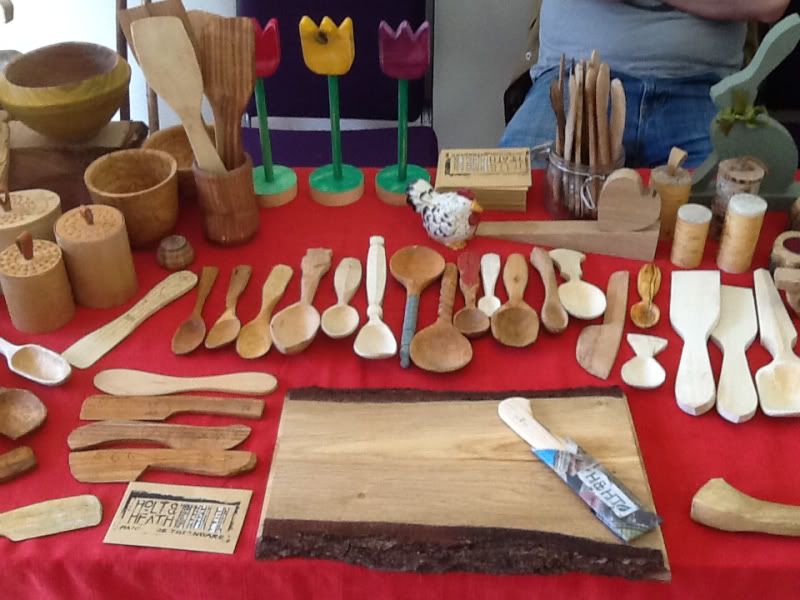
Pricing was not easy. Unless people are specifically looking for the kinds of items we were selling or have some experience of the time and effort that goes into producing them, they will always seem overpriced. Most people can not help looking at our spoons, for instance (which we were selling for between £5-10), without comparing our prices with those at Wilkinsons and conclude that if they can retail a wooden kitchen spoon for 50p then ours should be comparable.
One elderly lady was interested in a spatula of Julian's, a really nice hand carved cherry number which I informed her was £5 - she nearly choked and while making a swift get away informed me that she had a wooden bowl that she kept fruit in - I think this was her way of apologising for baulking at the price of our spatula.
Anyway, sufice it to say this probably wasn't the ideal venue for selling handcarved woodenware. We enjoyed the experience and sold about £60 worth of goods - we met a particularly nice chap, a fellow bushcrafter by the name of Chris who bought a knife from us and then swaped us one of Ju's handmade crook knives for a length of nice 01 tool steel. Cheers mate! I also sold a spoon that I had engraved with the year of my birth (1968) to a woman who wanted to send it to her son who lives in Wales and collects carved spoons. She liked it because he was born the same year and after a little discussion it turns out I was at school with him.

Perhaps we'll try again, sometime, but be a little more selective about where we do it - hopefully for people who actually know and appreciate what they're looking at.

Monday, 18 June 2012

Traditional Paint Recipe

Inspired by some traditional Swedish bowls I decided to give my recent turnings a lick of paint. Jarrod StoneDahl uses milk paint on his bowls and my original plan was to do the same, but the recipe that i found on the net uses Borax and i couldn't manage to get hold of any. Then i remembered a post by Robin Wood in which he gives a recipe for paint using linseed oil. Credit goes to Robin for this recipe:
Crack one egg into a jar, put the lid on and shake it up. Then add four half egg shells of raw linseed oil and again shake it up. Then add six half eggshells of water and give it another shake. Robin and Jarrod both use natural pigments in their paint, but unfortunately I didn't have any, so I used acrylic paint  to add colour. I was really pleased with the paint and it seems to have a bit of a life of its own, giving quite an uneven finish in places, but this just adds to the charm.


Thanks to Robin Wood for the recipe. I'm looking forward to experimenting some more with this.

Sunday, 17 June 2012

11th century axe work...

I was in France last week with a bunch of Y9s on a week long residential. I would like to have posted about the Romany gypsies in horse-drawn caravans who were parked on the road-side weaving willow baskets, but unfirtunately the coach was unable to stop, so you will have to make do instead with a few shaky and blurred photos of Normans using axes, as depicted on the Bayeux tapestry.

I have been to the tapestry museum five times now and really love it - there is someting magical about the figures and the craftsmanship is amazing. I seem to spot something new each time. Anyway, here's a few favourites:

felling

hewing with a broad axe - not sure hewing towards ones groin
is something I would recommend - see my previous post about
thinking twice before doing something dangerous

more hewing and some adze work

slaughtering cattle and sheep

generally posing and showing off about the size of your axe

My injured thumb...

You could be forgiven for asking why I've posted a picture of my thumb. Well, it's in way of warning really. Julian and I have talked a couple of times about how we sometimes do things without thinking, only to realise later that it was either silly or dangerous and that we shouldn't have done it and were lucky not to have hurt ourselves. And when you're working with power tools, ultra sharp knives and axes, this is doubly the case.

Hence my thumb - bruised by hitting with a hammer whilst trying to add an extra wedge to an axe hande that had begun to come loose. This is a tricky job as the axe handle does not have a flat end to stand it on and the head is not 90 degrees to the handle meaning you can not strike the wedge comfortably in the direction that you want it to go. Sufice it to say, I lost concentration and hit my thumb - a relatively small reminder that you should really think through what you are doing first and consider the safest and easiest way of achieving your required outcome and that it would have been very easy for me to have fixed the axe in a vise. I'd like to be able to say this was the first time I'd learnt this lesson, but my A&E file is testiment that this is not the case!

Birch bark boxes....


This post is really by way of having a bit of a moan about how difficult it can be to get materials for making stuff and how jealous I am of those who seem to have limitless supplies at their disposal -those fortunate enough to own a couple of acres of woodland, to have tree surgeons as neighbours or to live in Canada! Green wood is really quite difficult to come by when you live in a city and work full time so that, even when you happen to drive by a stack of freshly cut wood, by the time you get the time to go back for it, it's already been shredded/mulched or carted off to the tip.

For this reason, I have to make the most of every stick of wood that comes my way and can't really afford to discard any, despite it being twisted or knotty.

So where am I going with this? When Julian gave me a section of birch log the other week, I thought I should try and remove a section of the bark to make a container with. I really like birch bark items and figured I could make something nice for the up-coming craft fair. Great idea, I hear you say. Unfortunately, the bark available in this country is often too thin and knotty for stripping and this was certainly the case in this instance. Still, I couldn't bring myself to waste it so instead of one nice big container, managed to get enough for two very small canisters instead.
some basic tools
truing and cutting bark to size
cutting tabs for sewing
stitching tabs - a bit fiddly
finished boxes - just need leather pull-tabs on the lids

Sunday, 10 June 2012

A day of turning...

I was going to say I haven't done much bowl turning, but it would be more accurate to say that I haven't actually done much turning at all. I've had a small Record lathe for a couple of years now, but because space is so tight it's not always set up to go, and so it seems like too much effort sometimes to just stick a chunk of wood on the centres and turn something interesting.

Simple birch bowl - needs drying and finishing
So, when Julian said we needed bowls and trenchers for the craft fair, I arranged to go round to his for a quick reminder of how to do it. I also quite liked the style of the antique Swedish bowls on Julian's previous post so thought I'd have a go at something in a similar vein (though I'm not presumptious enough to believe it would turn out anywhere near as beautiful).

It went well and I enjoyed myself. I learnt a few invaluable lessons:

1 - you can never underestimate the importance of a sharp tool.
2 - a chainsaw makes roughing out blanks a lot easier.
3 - despite my need for immediate results, you need to take your time in order to be successful.

I'm sure there were other things I learnt, like the need for a golfing umbrella in Julian's shed and that water and electricity are actually natural bed-fellows.