Thursday, 30 August 2012

Blackberries

I am very blessed to have been able to spend six weeks this summer with my two year old son Jesse. Today was my last day of looking after him myself whilst Laura was at work. I'm also blessed to be in a lovely new house with quite a large back garden. We hope in the future to have an allotment  in the garden and maybe even chickens, but for now we just have to make do with the blackberries that are trying to take over in places. So today was Jesse's first fruit picking experience.

Keen to try out a few

Jesse picked all of the low ones

Not a very big haul
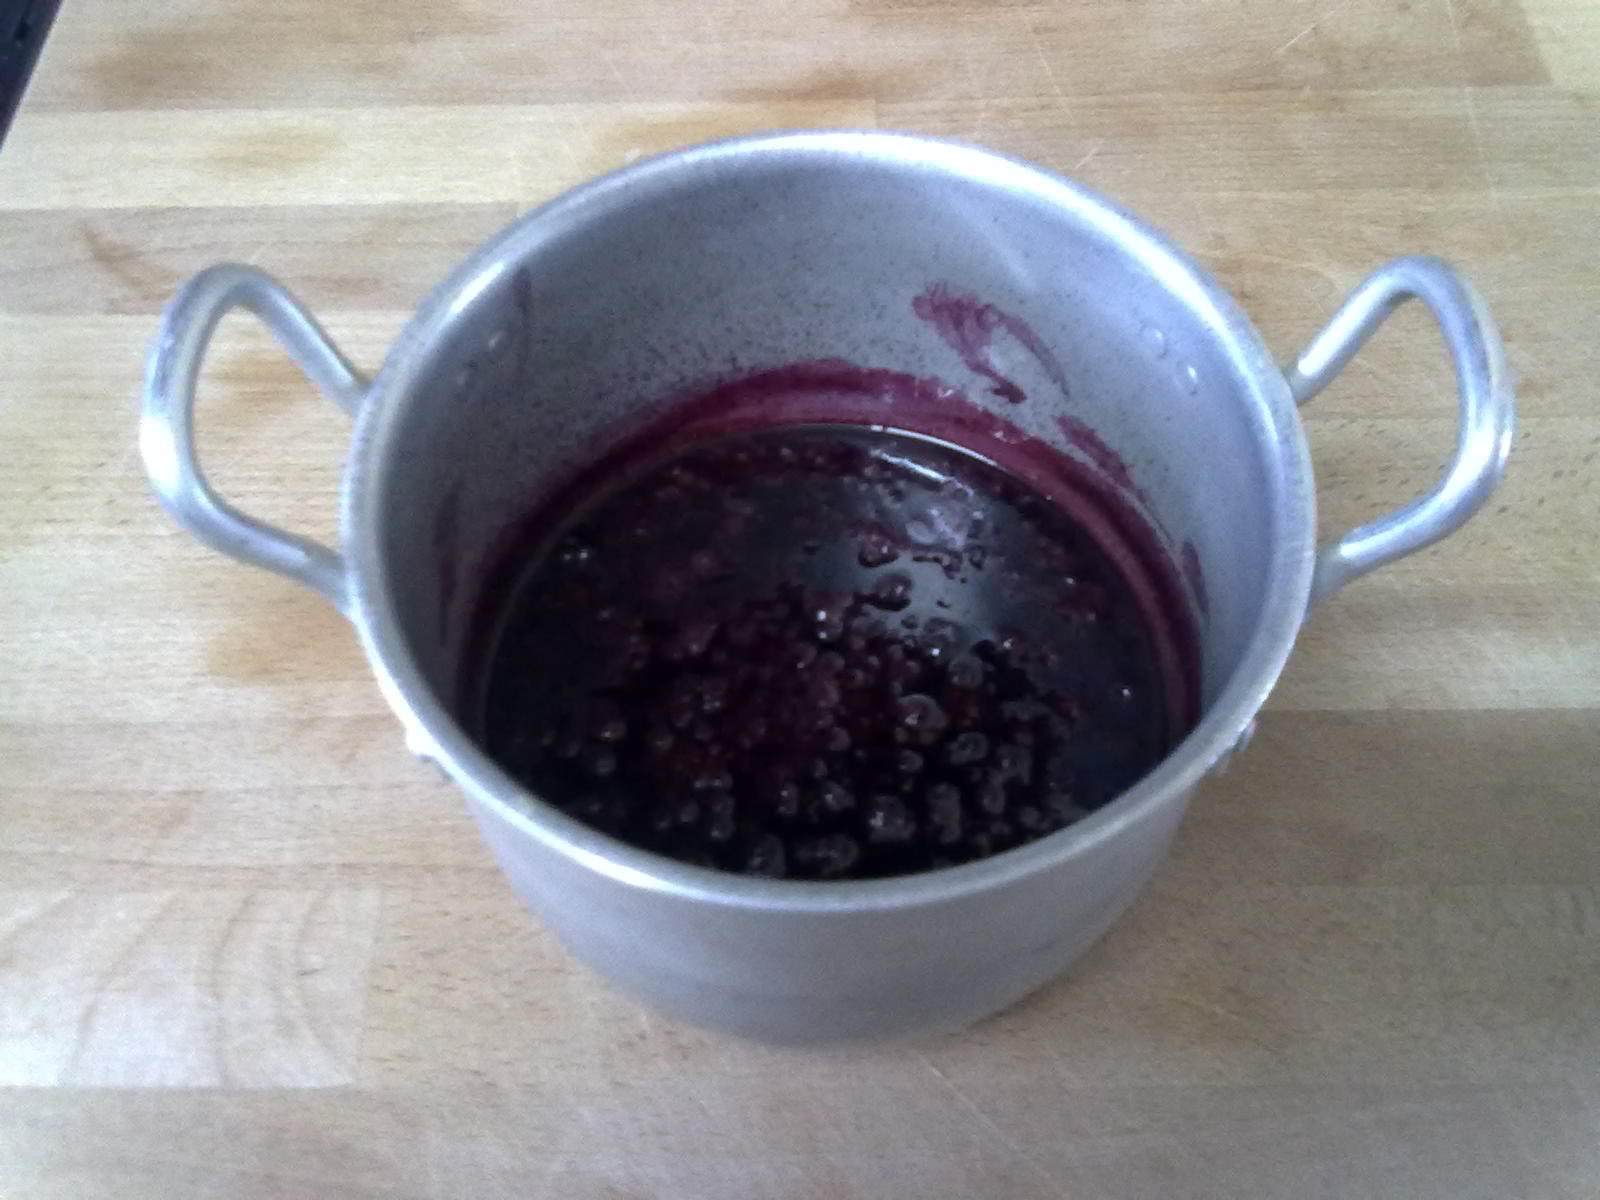
Boiled down with some water and sugar
Perfect with cornish ice cream

Axe File no.1: Roselli Allround axe


Made by H. Roselli in Finland, this is the axe that I take with me if I'm going camping in the woods. I have to admit that what first attracted me to this axe was how incredibly cool it looks. With it's bearded head it definitely has something of the viking about it. At 850g and with a 46cm handle, it sits somewhere in between an axe and a hatchet. It fits easily into a rucksack and is perfect for splitting small logs. This is due the really thick wedge profile of the head.


The profile also means that it's almost impossible to get this axe to stick in a log, something which again makes it perfect for splitting.


The beard means that you can choke up really close to the head, which along with the long bevel allows you to make nice planing cuts.


There is also a small poll that is hardened so that you can use it as a hammer, though it's not very well balanced for this task. It comes with the nicest leather sheath I've seen on a production axe and a straight handle made of birch. It is also available with a smaller handle of 36cm, but the head is exactly the same on both axes.


I've used this axe to cut down a tree, prepare wood for a fire and even rough out a spoon. For me it is the perfect axe for preparing firewood when out on camping trips. It seems quite similar in it's specifications to the Gransfors Bruks Outdoor axe which was designed with help from Swedish survival expert Lars Falt.


There is a good comparison of the Roselli and the Gransfors small forest axe (which seems to be the most popular bushcraft axe) here

Saturday, 25 August 2012

My Spoonfest spoons...

Since we've said a bit about what happened at Spoonfest, I thought I'd just take a minute to show the spoons I made in the coouple of days I was there - please be aware that these are in no way a reflection on theskills of those craftsmen who presented workshops and whose spoons are far superior to mine (though I'm working on it - it would be interesting to see what I produce now, with the principles and skills I've learned).

             1                      2                   3                     4                  5               6

               1                  2                   3                   4                5                6 
 
From left to right:

1 - Birch serving spoon - this was the first spoon I made on Friday afternoon, engraved for my brother Adrian who turned 50 on the Saturday.
2 - Birch serving spoon - the side elevation doesn't do this one justice - I aimed to make a bowl with a straight keel, like the hull of a boat, and the handle is an irregular hexagon - actually rather nice to hold.
3 - Fat birch spoon - I have a natural tendancy to make my spoons (as well as my knives) over chunky - this is something I am going to consciously work on in the future.
4 - Willow eating spoon - made during Steve Tomlin's class, a more ridgid copy of one of his spoons (engraved RVH for my wife - just what she needed, another wooden spoon!) Next time I'm going to soften the edges a little.
5 - Birch eating spoon - a copy of a really dainty spoon that Barn put in the gallery. Suffice it to say, mine's not a patch on his, but I was working on achieving that really curvy profile, while using straight wood. It's really nice to hold, though my bowl's a little deep.
6 - This is the small scoop I made with Janharm ter Brugge in his class. He showed us a really simple method of carving these little spoons and scoops - I look forward to experimenting with it later.

Wednesday, 22 August 2012

Spoonfest Episode 2 - Ju's Story

Why do you carve so many spoons? That was a question my wife asked me once, the truth is I haven't carved that many spoons, probably about ten, but other than whittling the odd tent peg when out camping, a spoon was the first thing I ever carved out of wood. It was, in fact, quite an important step on my journey into making things. I started off making knives for when I went out camping in the woods, but decided I wanted to do more than just sharpen sticks with them and so after reading books and searching the web it seemed that carving a spoon was like a rite of passage. I still have my first spoon, carved out of some extremely knotty hawthorn, it looks monstrous, but reminds me that i am getting better despite what i might think, anyway on to Spoonfest. When I found out about Spoonfest I was very excited, both at the chance to improve my carving and to meet some of the people that inspire me such as Robin Wood, Jarrod StoneDahl, Sean Hellman, Steve Tomlin, Barn Carder and of course Jogge Sundqvist.
Spoon shop
 When I first got there my feelings were of disappointment at how shocking my spoon carving efforts were compared to pretty much everyone I met, but I still had a great time sitting and carving with everyone. The evenings presentation by Jogge was great and a video message from Wille Sundqvist told me I was participating in something special. 

Jarrod StoneDahl teaching sheath making with natural materials

I didn't get to go on all of the courses I would have liked, it would have been especially great to have been on one of the Jogge courses on Friday, but it was clear that as much effort as possible was made to make sure that everyone that wanted to could get on at least one of the courses. 
Fritiof Runhall teaching axe work 

I did manage to get on two of the courses I wanted to. Jarrod StoneDahl taught a course on making Birch Bark sheaths, something that I have tried before, but Jarrod showed me how to do it properly. Finally I can throw away the ugly plastic sheaths that came with my Mora knives. Steve Tomlin taught about improving your spoon carving. It was very interesting and helpful, giving an insight into his analytical approach and will hopefully help me to finally get my spoons symmetrical. 

Jogge Sundqvist meeting people  and answering questions

 I was chuffed to bits that my brother Eden came along with us, but in retrospect i think that it's a shame we weren't a bit more sociable as everyone I met was so friendly and there are lots of people that i would have liked to have met properly.

Spoon Gallery

More from the Gallery

By the end of the weekend I felt that i was  part of an international community and so pleased that i could be at the first of what will hopefully be an annual event. Many thanks to Barn, Robin and everyone else that made it such a success. 

Some spoons. Left to Right: Robin,  Steve, me, Jarrod

Spoonfest Episode 1 - Richard's Story...


Well, the day finally arrived and, full of excitement and trepidation, Jules and I set off, bright and early, the car laden with all the things we might possibly need for SPOONFEST.

We arrived a little after 4 o'clock, after a drive through the most stunning Derbyshire countryside, at a field in a valley, surrounded by cloud capped mountains - beautiful. The reception was generally friendly and so we set about errecting Ju's virgin bell tent. It went up easily and was very comfortable and roomy. We were a little disappointed, however, to be told we could under no circumstances use the woodburning stove, despite Julian's explanation that, since the stove was actually in the tent with us, we would be very careful that no risidual burning or scorching occured, as we didn't want to burn to death.

We strolled around the site for a bit and sat ourselves in the main marquee and began carving. Now, to cut a long story short, we had a great and enjoyable time. We met some of our spoon-carving heroes (Jogge Sundqvist, no less!), tried out new tools, went on masterclasses and learnt new techniques (I am particularly grateful to Steve Tomlin who not only showed me how he did it, but also sanctioned all of my 'bad habits'), met other amature carvers, made some nice spoons (I'll post some later), met up with people we hadn't seen for a while or who we had only spoken with before through blogs, saw a gallery of amazing spoons, enjoyed each other's company (my older brother Eden came along too and made a nice first spoon), and had a thoroughly good time.

If there was any disappointment, it was that I didn't get involved as much as I could have (I am a typically reserved Englishman) nore was I able to have any lengthy, in-depth one-to-ones with Robin and Barn, but since they don't know me from Adam and there were over 150 people there, that's hardly surprising.

All in all I should say, £30 plus £10 per workshop was an absolute bargain and anyone who may have thought that Spoonfest was just a money making venture for Robin and Barn would be absolutley wrong. Not only can I not imagine they made anything, but the time and effort before and after (I wouldn't want to be the one to hoover up all those shavings) must have been immense. Thanks chaps!

And Roll on SPOONFEST 2013!

Steve Tomlin - it's ok to use a pencil and ruler

Jules and Eden making shavings

Robin Wood explaining sharpening methodology

A bit of the gallery (my spoons bottom right corner)

Janharm ter Brugge (really nice man) demonstrating small scoop carving

Thursday, 16 August 2012

Getting ready for Spoonfest


Well we're off to Spoonfest tomorrow so I've spent a bit of time sharpening my tools and on Robin Wood's advice I've decided to mark my tools with my initials. As many carvers use the same makers for their tools there will probably be lots of the same tool knocking about so it is probably a good idea to mark them in some way. I've decided to burn my initials on using a pyrography iron.


At first I didn't like the idea of marking my tools in this way, but then it reminded me of the owners marks I often see on the old tools I pick up at car boot sales. I think I read somewhere that this was a requirement for insurance purposes. You can just make out the name A.W. Lovett on this old bow saw.


I most commonly see these marks on old wooden planes and whenever I see one at a car boot sale I always check the owners mark in the hope that I will see one with the name A. Banham on it. Arthur Banham was a musical instrument case maker in Birmingham. He died when my Mother was seven and so i have never met my Grandad, but I feel close to him when I look at the things that he made and also when I make things using tools that would have been familiar to him. My Mom still has an old pin hammer that belonged to him and my Dad remembers seeing some of his old planes. To own and use a tool that once belonged to and was used often by him would be amazing for me. I'll keep looking.

Sunday, 12 August 2012

New handmade knife...

A friend who had talked with me about my knives in the past, phoned last weekend to ask if I would help him make a knife of his own. We arranged a time and he turned up with some pictures off the net of some knives he liked the look of. On the whole they were a collection of heavy duty Bowie type knives (my friend is a fully-fledged cave-dwelling, hunting, being rescued from the sea by the RAF type wild man) but we settled on a slightly more subtle Fallkniven BA1 copy.

I must pause at this point to say fair-play to Fallkniven who publish templates of all their blades on their website - uncommonly generous, I thought.

I had a length of A1 steel (thanks Christoffish - Bushcraft UK) so we set about cutting, sharpening, hardening and tempering. This took best part of a day, with me showing him how to do it and him having a go himself.


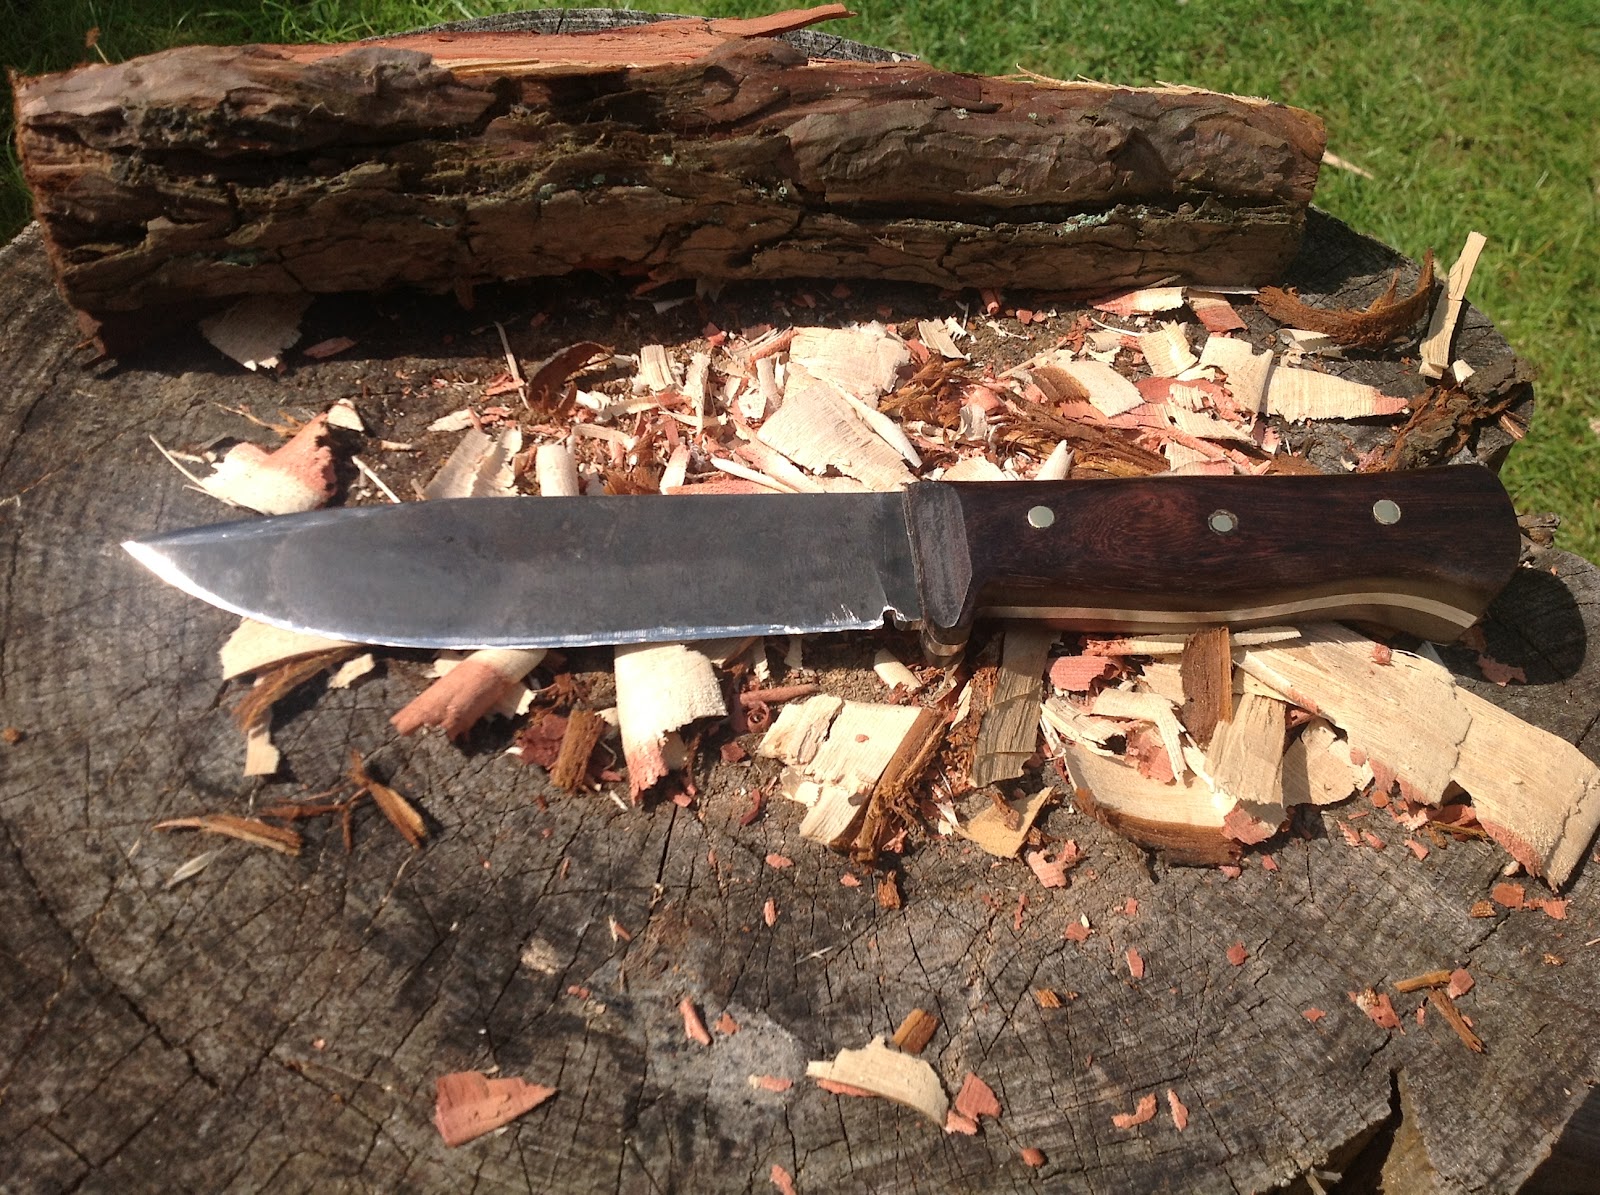
Day 2, we chose some really nice wood for the scales - not sure what it is, it's been knocking about in my shed for ages (rosewood perhaps??). We pinned the scales with brass rod and shaped the handle - it came up beautifully. Overall I was very pleased with the finished results and I hope my friend was.

Next job, making a sheath.