Friday 13 March 2020

Making Leather Stamps


One of my recent projects has been to make some some leather stamps out of scrap pieces of metal. I'd made one or two in the past, but decided it would be nice to make a few more for a project I was working on. I decided to use some old files as the metal as i have lots knocking around that would give me a few different shapes to begin with and if I wanted to i could harden them so they can be used with wood or metal. The first job was to cut them down to length a suitable length. This is really easy when you're using old files as the metal is hard and brittle, so I just secured it in a vice and then gave it a wack with a hammer.


Then I took the pieces to the forge, heated them up to cherry red and allowed them to cool down slowly in vermiculite. This anneals the metal and makes it softer and easier to work. After the pieces had cooled down I ground the faces flat and then it's just a case of filing them to the desired shape or design.

I wanted to make some simple shapes and experiment with some more complicated designs too. Some seem to have worked better than others, but they're pretty quick to make so it's all good fun. When put together, even simple shapes can create interesting effects.


Thursday 12 March 2020

Mora spoon knife review


When teaching courses in spoon carving we always try to inspire students to carry on the craft once the course is over. Spoon carving is a great introduction to traditional handcraft (I think it was Barn 'the spoon' Carder that referred to it as the 'gateway drug to green woodworking') because it only requires a few tools and the raw materials are easily available.So, to help them on their spoon carving journey we always take some time to recommend the tools they need to get started. Recommending a straight knife is a no-brainer. The Mora 120 and 106 are fantastic knives and are really cheap, being available from several different retailers for under £20 posted. Good quality axes can be obtained cheaply on the second hand market, but they will inevitably require several hours of work and possibly additional tools to get them to a usable state, so it's much better for beginners if they can buy something suitable off the shelf. I think the Robin Wood carving axe is an excellent option here. Less than £50 posted and ready to go. You can read my review of it here.

The problem comes when we have to recommend a spoon knife. There are lots of great spoon knives out there, but they all come out at around the same price point. There are three British makers that I know of that make great quality spoon knives; Ben Orford, Nic Westermann and Wood Tools. I've never used one of Nic's spoon knives, but I've heard great things about them and all of his other tools that I've used have been fantastic quality. Unfortunately his waiting list is over a year, so it kind of rules him out as a recommendation for beginners who want to continue the craft. My first real spoon knife was one of Ben Orford's and I still use it regularly. They are usually in stock and cost around £48 posted. I have several of Wood Tools knives and really like them. They were originally designed and made by Robin Wood to overcome the problem that I'm talking about here, that is recommending a spoon knife to students that is cheaper than the blacksmith made ones. Unfortunately the price has crept up a bit since and they now retail at £39, which though still slightly cheaper than most spoon knives, when you factor in their £8 flat rate postage, it bumps the price of a single knife up to the equivalent of the other makers (one solution to this would be to buy the spoon knife with the axe, thus spreading the cost of postage).


This brings me to the Mora spoon knife. For a long time it has been lambasted in spoon carving communities, but it's back now with an improved design (with help from Swedish woodworker Beth Moen). I decided that I should probably give it a go and my first impressions are pretty good.


It comes sharp out of the box and also includes a pretty neat leather sheath (this is the only spoon knife I have ever seen that comes with a sheath). The sharp tip has gone and the back of the blade has more of a curve to help with concave cuts. The new knife is also made from stainless steel, which should mean that it holds its edge for a bit longer, but could also mean longer sharpening time. The compound curve means that it will cut aggressively towards the tip of the blade and can also be used for more deep hollowing, but there is a flatter section towards the handle that can be used for smoothing out the bowl.


I've used it to hollow out several scoops and have really enjoyed it. The handle is a bit thick for my liking, but that is easily remedied. I'd like to try one with a more open curve, but unfortunately they only do that shape in the double edged version.

To be honest I would still rather recommend a knife made by a local maker. If the Wood Tool knife had a more reasonable postage charge for a single knife, then I would definitely encourage students to spend that little bit extra. As it is the improved Mora 162 is a good alternatively that can be found for less than £30 posted. 

Thursday 9 May 2019

Rustic Stools


I’m currently preparing a course making post and rung stools inspired by Mike Abbott’s book Going With the Grain. These stools are delightful and a great introduction to riving and shaving green wood as well as greenwood joinery. I’m trying to condense it down to a one day course, but I think that might be a bit ambitious. One of the problems here is that the rungs would ideally be dried out overnight before doing the joinery. This means that the mortice in the, still green, legs will shrink slightly as they dry creating a very tight joint with the dried out tenons. If the rungs are not dry enough then the tenons will shrink too and the joint could become loose. I’m experimenting with drying the rungs out in the oven and hoping that the time it takes to make the legs (and to eat lunch) will be enough to bring the moisture content down sufficiently.


One of the things I love about this kind of stool is that you can get pleasing results with less than ideal wood. Most of my wood is salvaged/saved from the tree surgeons chipper. This means that more often than not it has been cut down from an urban setting where it wasn’t competing for light and is therefore not very straight. This can mean bendy grain and lots of knots, which is not really ideal for furniture making.


With this kind of stool it doesn’t really matter, in fact I think it adds to its charm. Wonky legs? Fine. Included knots? Not a problem. These are a great example of functional, user made furniture. Furniture of necessity.


These stools are currently being tested rigorously by my three boys. Sometimes they sit on them, but more often they are launch pads for their indoor acrobatics or construction elements for their dens. They are definitely proving to be functional, but they are also beautiful. Their imperfections make them lively and unique and remind us of the nature of natural materials.


Tuesday 5 February 2019

Heavy Metal


Most people in the Green woodworking scene will be familiar with the work of Peter Follansbee. If you're not aware of Peter's work then stop reading this immediately and head over to Peter's blog, you  won't regret it (but you might not come back here for a while).

Peter Follansbee's Side Axe

Peter's side-axe is legendary. It's an important tool for his prep work and unfortunately 'they don't make 'em like they used to.' Peter regularly gets questions about his axe and he has produced this video to show some of the possible alternatives.


One day whilst trawling a popular online auction site I came across a vintage side-axe that looked like it might be perfect for this kind of work. It was going at a reasonable price, so I took a chance and bought it. When it arrived I quickly realised that I had made an error. The shape of the axe was perfect. The edge geometry was exactly what I was looking for. The problem was that it was huge. I had neglected to look at the weight of the axe on it's description. The heaviest axe that I use regularly is the Gransfors Swedish Carving axe which weighs 1kg. Peter's is a bit heavier at about 1.6, but this one  weighs in at a whopping 2.3kg. This axe is HEAVY!


However all is not lost.
A few years ago I suffered from a bout of tennis elbow. Throwing an axe around all day can be quite a hard physical work out and I assumed that because I don't do this full time I had pushed myself too hard. That year whilst at Spoonfest I attended a talk by Terence McSweeney, green woodworker and professional Osteopath. One of the questions that was put to him was how to avoid tennis elbow (it seems that this was more common than I thought even among full time woodworkers). Terence's answer was that the problem was probably that their axes were too heavy (cue gasps from several affronted axe wielding spoon carvers). He explained that our bodies are not designed to work at full capacity for extended periods of time and therefore if we are using our heaviest axes all day, then our arms are under a lot of strain. What Terence suggested was that we build up our strength by sing a heavier axe for a short period and then when we return to or regular axe we are not working at full capacity.

So this has become my workout axe.

Ironically this axe used to belong to Terence McSweeney. If he was using it for similar purposes, then the axe that he has now worked up to must be a beast.


Note how the back of the axe is slightly convex so that the edges don't bite into the wood


Tuesday 24 July 2018

Has it really been that long?

I knew I hadn't posted much recently - in fact that's understating it - I knew I hadn't posted anything for ages. And I knew I hadn't posted for ages because I haven't actually carved anything since the Countryside Show in Leicestershire last August!

When I went to look at the blog to see what was the last thing posted I thought "good, Julian has posted recently." It wasn't until I looked closer that I realised what I had thought said July 2018, was actually July 2017! We really are rubbish at this!

That's not to say I haven't done anything. I have done some black-smithing to make pattern forged steel and I have made several knives and a bit of leather-work, but I find I have less and less time on my hands for these activities and have decided I need to make a concerted effort to do more.

So, here is my first spoon in a year. It is not the spoon I intended to make, but my first effort split right down the middle - my recently split billets of 'green' wood have suffered the very warm weather we are enjoying and are as dry as match wood. Nonetheless, here is my day's effort.


It is one of my favourite spoon designs - I call it a coffee paddle. It is thin and delicate, with a subtle crank and just the thing for making and stirring hot drinks.

It is not all I did today. I had noticed on a walk recently along our local canal, that someone had done some work on the trees at one section, and left some rather large sections of what I am guessing is probably a willow of some kind.

The best of the pieces was too big and heavy to carry so I went out early this morning with the intention of splitting it into quarters or eights so I could bring some home, maybe to use as bench legs.


I set to with axe and wedges, only to find that the wood inside twisted so badly that it took me best part of an hour to do the first split (and retrieve my wedges which at one point were horribly trapped within the twisted fibers).


Looking at what I'd got, I figured this was potentially a lot of effort for what would no doubt end up as fire wood and so I cut my losses - it beat me, I admitted defeat. I really should have looked more closely at the position of the sap wood at either end of the log and would have worked out before I'd stared that it wasn't going to be straight.  Oh well, I still get so excited over a length of free wood that I don't always think logically, and I'd like to say I've learned my lesson and will be more circumspect in future, but I know that's probably not true!

Now, let's hope I can actually remember how to post to the blog.

Friday 21 July 2017

Welsh Stick Chair


This is the most amazing chair in the world. Not because it is particularly nice to look at or because of its flawless construction, this chair is amazing because it exists. The fact that I actually managed to complete this chair is a miracle. There were several things working against me; firstly there is the problem of time. As a full-time History teacher with a young family it is sometimes difficult to find large blocks of time to do woodwork. This isn't so much of a problem when it comes to my usual work: bowl turning, spoon carving and other small projects that can be finished in an evening. It was much more difficult to keep momentum with the chair, especially as I was spending a few hours working and ending up with only a pile of sticks to show for it. There were also tools that I needed to acquire and sourcing the right materials too, but by far the biggest obstacle was the fact that I'm a bit of a chicken. Cautious is probably a better way of putting it. Whenever I try something new I like to read about it first, then I like to read something else about it and then, before I start I like to read about it. This was no exception, in fact the journey started with this post about several books that I'd been reading in preparation, that was two years nearly before the chair was finished and I included several other books in-between, in fact I could probably just pile up my chair-making books and sit on them.

Some of the books I used to help me
Something that made me even more cautious was the fact that this was the first time I had ever paid for wood. Usually I manage to salvage logs from tree surgeons and friends, but this needed something  big for the seat, so I bought a slab of ash for £40 that I thought would be big enough for at least one seat. I'd decided to make a Welsh stick chair for a few reasons, the most important one being that in their traditional and purest form, these were unique chairs made by the user. This is what Bill Coperthwaite would call a democratic chair, or an anarchist chair according to Chris Schwarz. This is a concept that really resonates with me. The second reason is that they allow for a bit of rustic charm and I felt that my skill level could cope with that. As a result of this decision there were no plans to work from and instead I decided to use this picture as my guide.

This turned out to be a much more difficult approach than I had anticipated as I didn't have a single measurement or angle to go by. I should have worked out one measurement and then scaled everything up, but I didn't, I just made it up as I went along. 

So, in December 2015 work began when I went to a friend's house to split up some big oak that had been taken down in his back garden. 

Tools ready for action
Nick with the spoils of the day 

Lovely slabs of green Oak
Working with this oak was absolutely fantastic, but I quickly learned an important lesson: straight trees don't grow in back gardens. As I was riving and shaving the Oak down to size I realised that there's straight and there's straight and with no real competition for the light, back garden trees are a bit slouchy. This was even more visible with the Ash that I decided to use for the legs. This had come from the garden of another friend and as a result the front legs are a bit like bananas, but that's ok, as my Dad used to say whenever his DIY efforts weren't perfect "we'll make a feature of it."


One of the most enjoyable and frustrating elements was making the crest rail. This involved hewing and then planing a section flat and square, which I'd never really done before. Peter Follansbee's book on the joined stool was a big help here. Planing the green oak was one of the most satisfying things I've ever done. The smell was amazing. 


After getting it to the right dimensions, I then had to steam it and bend it to the right curve, again, something I had never done before. I ended up having to do it four times as the first two weren't the right curve and the third one broke whilst I was bending it. This slowed me down more than anything else.
Bending jig mark 1 (not long enough and not enough curve.

This was the final version that just about worked.
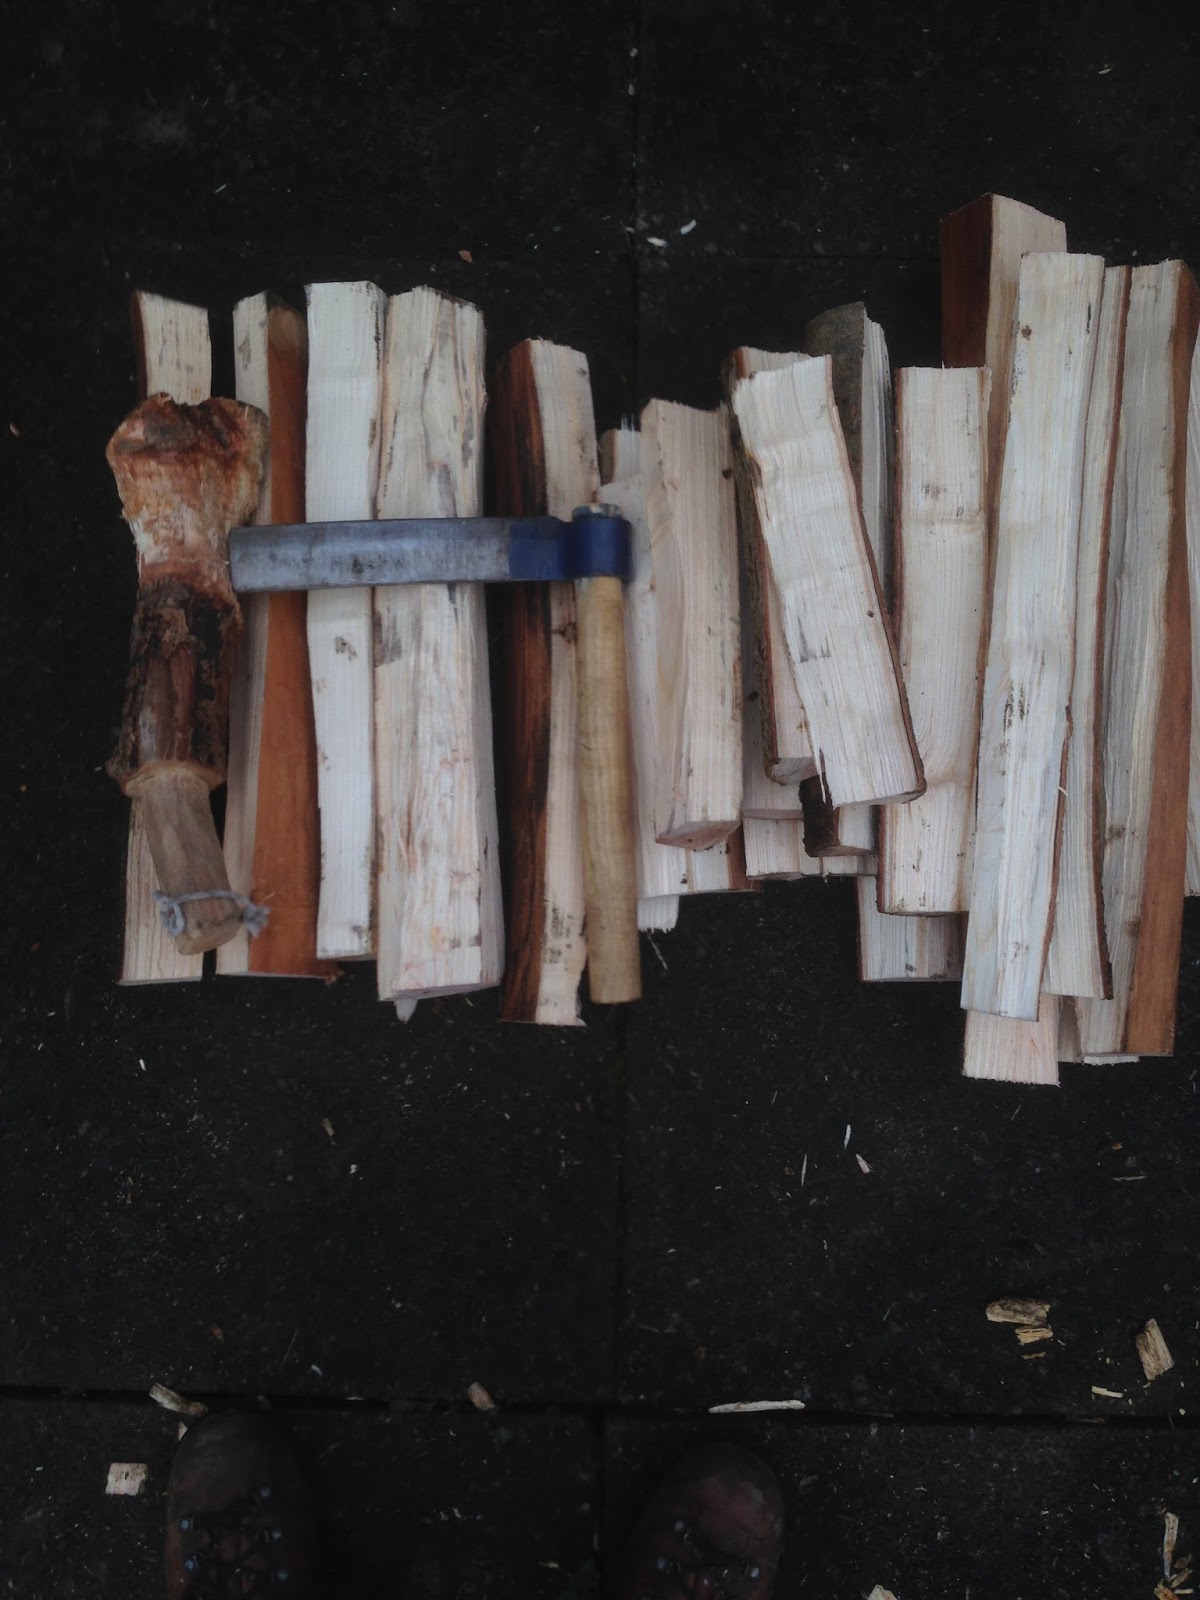
Shaving the legs and the spindles was good fun, but I did a lot as I wanted plenty of spares in case something went wrong. I'm pretty sure this was responsible for my tennis elbow, something which slowed things down further. 

A pile of sticks
Riding the shave horse
More shaving
Check out the footwear
Boring the holes in the seat was probably what made me most nervous as I didn't want to ruin this precious wood that I had paid for. I made a model as recommended by Drew Langsner, so that I could work out the compound angles and then I worked slowly.

This model made from MDF and coat hanger wire helped me to work out the angles  of the legs.
By May 2016 everything was ready except for the crest rail, which, as I mentioned previously, had to be remade for the fourth time. 


Then Summer happened and the whole project was shelved until December, when Richard came round and we finished the project off together. 


I was tempted to paint it like the one on the picture that I used for inspiration, but in the end I just finished it with Danish oil and a beeswax paste. We had a lot of people round for Christmas (17 for Christmas dinner) and so it got a lot of use and approval. The boys love it and will often argue over who gets to sit in Daddy's chair. If I speed things up a bit, I might be able to make them one each before they move out.  

Wednesday 12 July 2017

Spon


For some time, it seems, if you wanted to get into spoon carving, then there were only really two books that showed you how in any detail, and they were both out of print and hard to get on a sensible budget. The modern spoon maker/bibliophile is spoilt for choice, with no less than three books being released this year alone. 

Spon, by Barn 'the spoon' Carder is the latest one to hit the shelves and it is a must for beginners and experts alike. If anyone is qualified to write a book about carving wooden spoons it is Mr The Spoon. Barn spent several years travelling the country, sleeping in the woods, carving spoons on the streets and peddling his wares. It was at this time that I first found out about him from Robin Wood's blog and contacted him offering him somewhere to stay, if he was ever in the area and fancied a rest from sleeping under the trees. It seems this offer may have frightened Barn as not long after this he moved to the city and took up residence in a traditional dwelling known as a house. Barn is co-founder of Spoonfest, the first international spoon carving festival, and he also opened his own shop in London that sold, guess what? That's right, hand carved wooden spoons. He even has his own Wikipedia page. 

The book is well designed and beautiful, but has a raw, almost handmade feel due to the uncovered end boards. There are loads of full colour photographs to help teach and inspire. After an introduction  that is romantic, but at the same time pragmatic as he extols the virtues of his craft, there are chapters on wood selection, tools and a step by step guide to carving your first spoon. 


What I really love about this book though, is the second section which contains four chapters looking at sixteen different styles of spoon. Each spoon in this section has its own little essay on the design features and how to create them, as well as photos showing the spoon from three different angles. This is incredibly helpful for someone that is trying to improve their carving, seeking inspiration or trying to copy Barn's spoons and pass them off as originals.


Seriously though, I think that copying someone else's spoons is a great way of improving your own carving. Ideally you would have the actual spoon to copy, but this is the next best thing. 


For those that want to take things even further, Barn is now creating videos of how to make the sixteen spoons in his book as well as other spoon making tutorials. He has already finished several of them and you can view them by subscribing through the Green Wood Guild.

You can purchase Barn's book here.
And subscribe to the videos here.