Sunday 30 March 2014

Bowl no.13


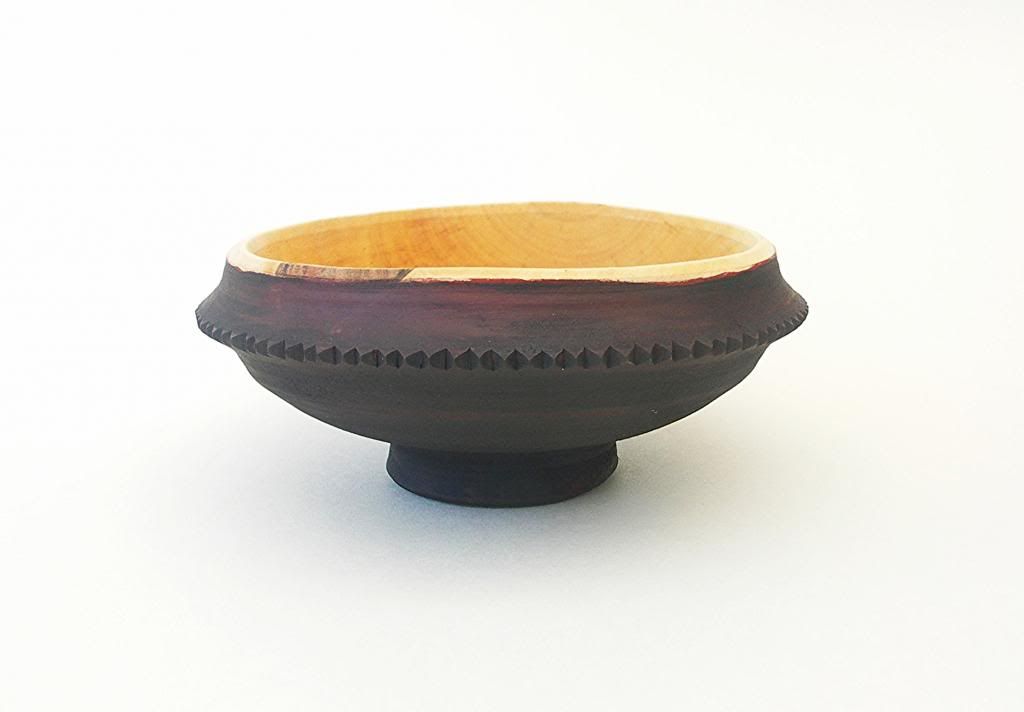
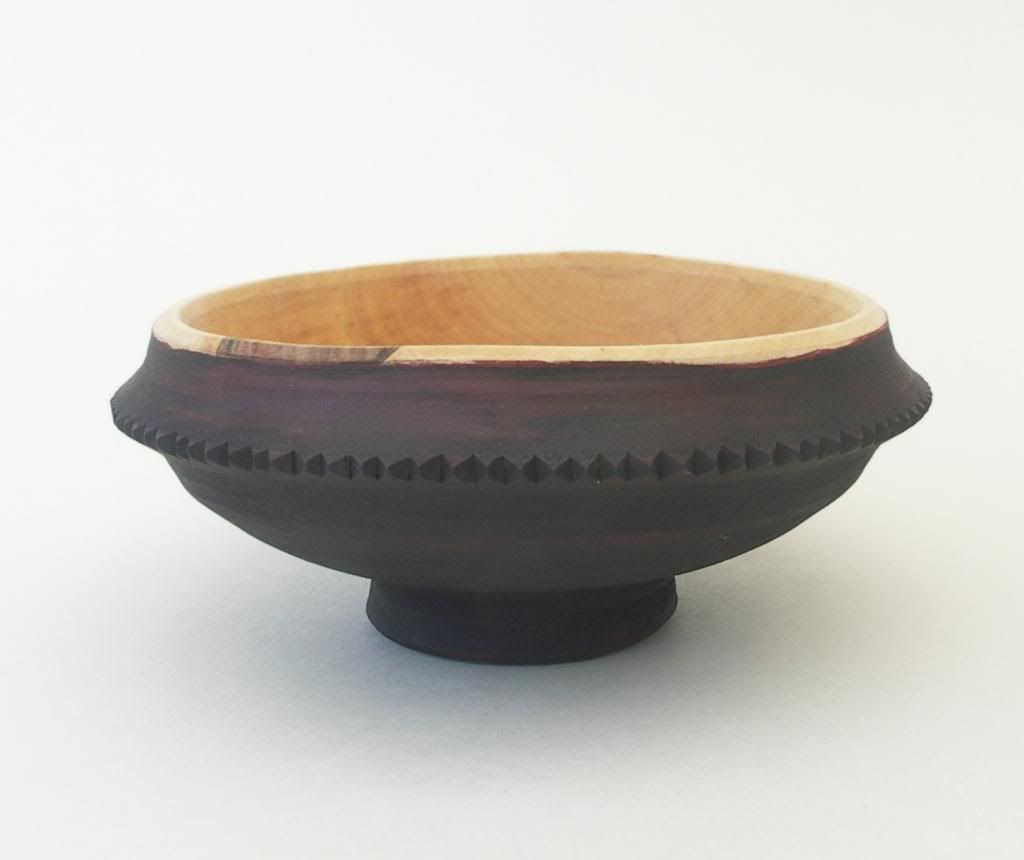
This week's bowl includes two things I've wanted to try for some time. I've seen chip carving done on bowls before and like the style. I don't like it when it's too fancy, but I think a simple chip carved decoration can have a bit of a pre 20th century scandinavian look (I might be making that up, but it's what I think of).


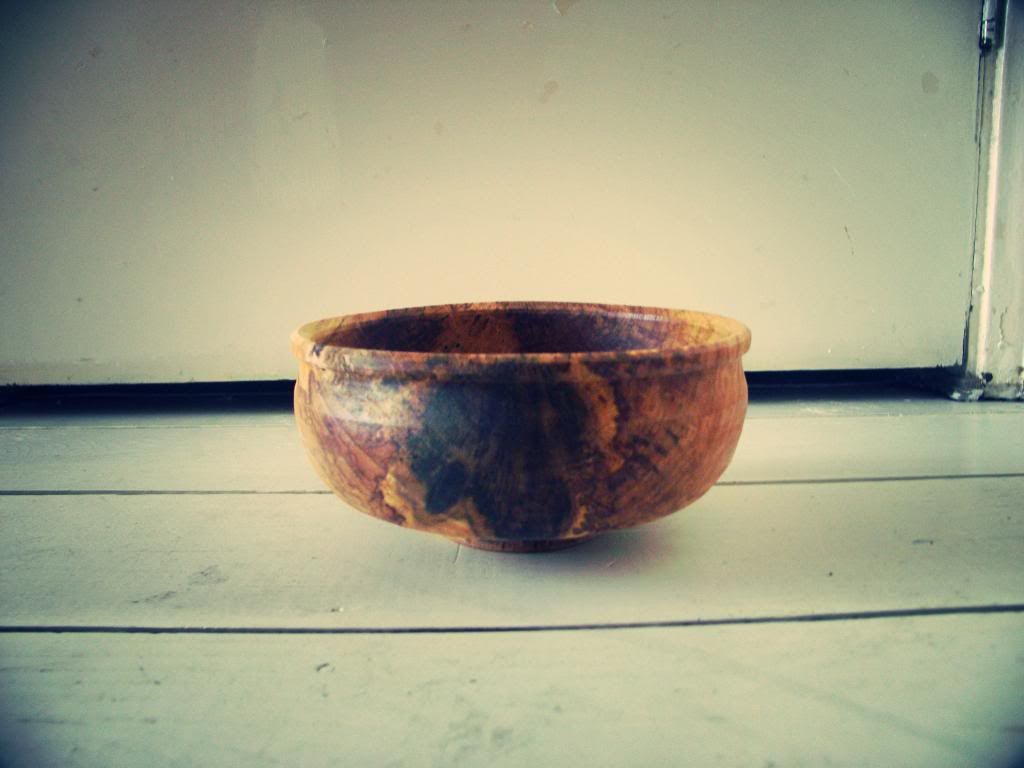
The other thing that I thought I'd have a go at is a medieval style repair. I'd seen pictures of bowls that had been repaired in Robin Wood's book 'The Wooden Bowl', and I really like the effect. I know that it's a bit strange as it's essentially a fault, but when I noticed a little crack in the end grain I decided to have a go at patching it up.


I love the way that the bowl has distorted as it's dried. With opposing peaks, it almost looks like a carved bowl. I'm not so happy with the paint job. There's a massive difference in the way the paint has taken on the end grain compared to the side grain, but I hope that it will get better with age.


Tuesday 25 March 2014

Bowl with a skirt


This is my latest bowl to make up for the last one (which I think is a bit boring). It's another spalted sycamore one and includes a carved skirt. It's very much inspired by the work of Jim Sannerud.


Carving the end grain was tricky, especially considering the brittleness of the spalted wood, but it turned out ok. I'd definitely like to try something like this again and experiment with different carved patterns. I also need to think about ways to lay out the design. I'm not very good at working free hand so I made a little cardboard template to help, but it's still pretty tricky when you're working around a curve.


Monday 24 March 2014

Bowl no. 12


A slightly boring one this week I'm afraid. Another small maple bowl about 4" diameter. It's painted yellow over red and I really like the way you can see the rings of the end grain through the paint (couldn't really get this to show up in any of the photos).


 It's one of the thinnest bowls I've turned, I guess I got drawn in to the challenge of making them as thin as I can, but I realise that this isn't necessarily practical and it's come back to bite me by leading to chatter in some of the other bowls I've turned recently.


Sunday 23 March 2014

Car Booty


I have to confess I'm a bit of a car boot sale addict. Laura and I like to start our Saturdays (when the weather is ok) in a field at 7am, rummaging through what most people would think is a load of junk. Car boot sales are a great place to buy old tools and I've found many a bargain in the past. It's mostly the kind of tools that are common place, hammers, saws, planes, hand drills etc, but every now and then I pick up something a bit different. Yesterday it was a Mocotaugan, or as it's more commonly known, a crooked knife. These are a traditional tool of the native North Americans.


They are used palm up and are drawn towards you like a one handed draw knife. From what I understand they are almost always user made. This one is pretty beat up. The blade is heavily pitted on the back and the edge is ragged as you would expect. The handle is made from antler. There is a short bevel bevel on the back of the tip of the blade, which is something I haven't seen on one of these knives before.

I'd love to know the history of it, who made it and why? Was it inspired by the mocotaugan or  did the maker just need a tool for a particular task and this was their solution or is it a completely different tool altogether? Whatever it was, my plan is to sharpen it up and use it as traditional crooked knife. Hopefully it will work well, but at 50p it's worth a shot.

If you want to learn more about the mocotaugan there is a fantastic book that you can download for free here. New ones are sold by Jarrod Stonedahl, who also runs courses on how to make them.

Wednesday 19 March 2014

Bowl No, 11


Another Sycamore bowl. This one is heavily spalted hence the dark patch, but it turned pretty well considering. I've  turned quite a bit of this wood now, all from the same tree, and I really think that it's a valuable exercise sticking to the same wood for a bit and learning it's properties.


I remember reading in Robin Wood's book 'The Wooden Bowl' that some of the old professional bowl turners would use one type of wood exclusively all of their lives. I'm sure I've also read on Robin's blog that when he starts working on a new tree, it takes him a while to adjust to the new wood.


Sunday 16 March 2014

New Axe Mask

I've been meaning to make a new mask for my Stefan Ronnqvist axe for a while. The last one was a bit of a rush job done with split leather (leather that is split one or more times so that you can get more out of the hide, the finish is like rough suede). It did the job, but I felt that such a fine axe deserved something a bit better. I'm not great at leatherwork, but I get by. It always surprises me when I see some very skilled woodworkers that don't have leather masks for their axes, because I really enjoy working with leather and it doesn't take much in the way of tools to do a lot of projects. An awl, a stitch marking wheel and an adjustable groover are all you need to get started and you could probably do without the groover if you've got some nice sharp dividers.

From L-R: Adjustable groover, stich marking wheel and awl
 There are loads of great tutorials on the internet for basic leather work, but I've also got a few books. I love the books by Al Stohlman as they have great hand drawn illustrations. His series on leather cases will show you how to make a leather case for pretty much everything you possess.


The mask didn't turn out perfectly and I've hopefully learned a few lessons in the process, but I'm happy with it and it does the job well.


Monday 10 March 2014

Bowl no. 10


This one is a bit different from the bowls I've been turning lately. The blank that I started with was a bit of an odd shape, so it just evolved into this.


I used to have a ceramic bowl like it, with a cut out and holes for the chopsticks, so the design is based on that. Unfortunately it kind of went wrong towards the end and started to chatter. This means that it was vibrating too much towards the end and you can't get a smooth cut with the tool. I'm hoping that it was just that it wasn't mounted properly on the lathe and not that the bearings are worn.

The bowl still functions though and it just looks like it's been carved a bit around the edge.


Friday 7 March 2014

Not great, but better

Definitely better than the last pictures, but I've still got some work to do at improving my photos.


Sunday 2 March 2014

Paint it black


I've really got to learn to take decent pictures. The was a tough one as I decided to paint it black. It's actually black over red and in the flesh, or wood, it works really well, but It's difficult to capture (for me).


It's another small one (about 6 inch diameter) and is made form the same maple. This is the only one from that log that didn't have a knot in it.


I really enjoyed doing the carving around the edge as it allowed me to sit with some friends and talk whilst I worked (I don't think turning is particularly sociable). I think I might try and get some better pictures this week and put them up later (some sun might help).